Getting Started with Diode
by Yahsin Huang | January 20, 2020 | Category: Diode
Last week we released a demo on YouTube that shows how to get started with Diode. It’s a simple guide to help you get a Raspberry Pi connected to the Diode network.
To get started, here are the steps to follow:
-
Install Diode go client
-
Register a fleet contract with the Diode prenet website
-
Add device to the Whitelist
-
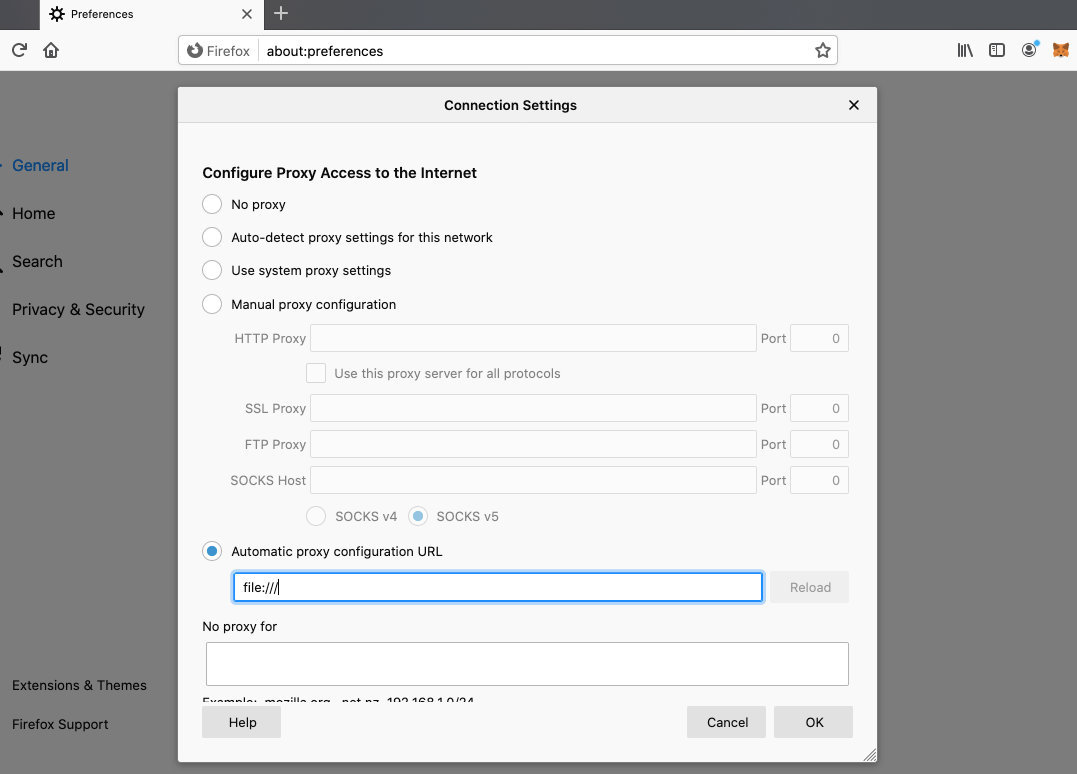
Configure proxy settings in Firefox - about:preferences
-
Connect to the Diode P2P network
-
Run a live video streaming with “diode.link”

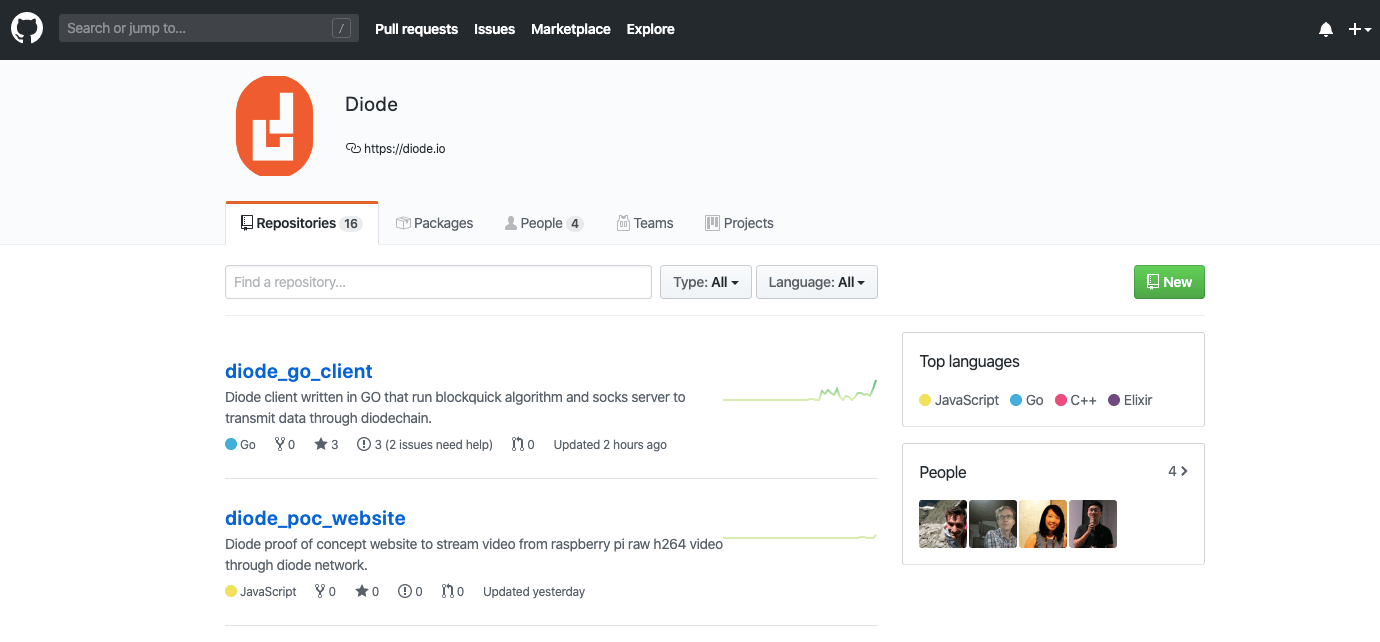
Go to Diode’s GitHub page; install the Diode go client. You need to have the Go programming language installed on your computer. It would be best to use the newer versions of Go. Go to Diode’s prenet website; register your fleet contract. To run the diode_go_client, use the command: make build.
Add your device to the Whitelist. Confirm the MetaMask transaction. It takes about 40 seconds or less for the new block to be added to the Diode Chain. What goes behind is the Blockquick algorithm doing its work in finalizing a block.
How do we know if the device has been added to the Whitelist? One way to check is to notice whether any error messages appear. If you still see messages like “Device was not whitelisted,” it means it has not been properly set up yet. If you stop seeing these kinds of error messages, it means you’re good to go!
You can type “help” to get a list of all the environment variables. Also, you can choose your own node. Or, if you leave this off, then your default node will be used one out of the 3 full nodes (the U.S., Europe, and Asia) based on your geographic location. For instance, our blockchain engineer Peter is currently located in Taipei, so it by default will choose the full node operating in Asia.

Here comes an important step to follow. Set up our Firefox proxy settings under the about preferences. Type “about:preferences”. Go to Network Settings. Go to Settings, configure proxy access to the Internet. Go to Automatic proxy configuration URL.
There’s a proxy.pac file from our project’s GitHub repository; it is used to set up Firefox proxy. It allows you to redirect the matching URLs to a local proxy server. Update the information in this field. Find out the current local IP of our Raspberry Pi. How do we do that? One way to do it is we can use the Terminal command ifconfig – this command is used for displaying current network configuration information. At the Terminal prompt, type ifconfig | pipe grep 172.
Now that we know the local server IP, back to our browser to see what our Raspberry Pi’s website looks like. Next search for a client address. Once you’ve set up everything, we want to use a proxy server to connect to the Pi address. Go back to our Firefox browser. Enter rw dash 0x7809… your Pi address. Paste the client address with dot diode. Let’s take a look at the video streaming. So, type 0x7809… the Pi address, then Port 3030, then Start. We can also use “diode.link”.
In the demo video we talked about how to use Diode’s Go client do a live video streaming. Go check out our GitHub repository, try it out, and let us know how it goes! We look forward to seeing issues and pull requests.
At Diode, we are constantly thinking about how to build a better Internet. How can we bring value to the web? We are seeing a trend of moving away from the client-server model towards peer-to-peer networks, and that’s what Diode is all about. It’s about imaging and building a new way of thinking about the web.
If you believe in the vast potential of a decentralized web, I invite you to join the Diode Telegram group. Follow our Twitter to get the latest development updates.
